
Last updated November 18, 2026
 Hardwood
 Engineered hardwood
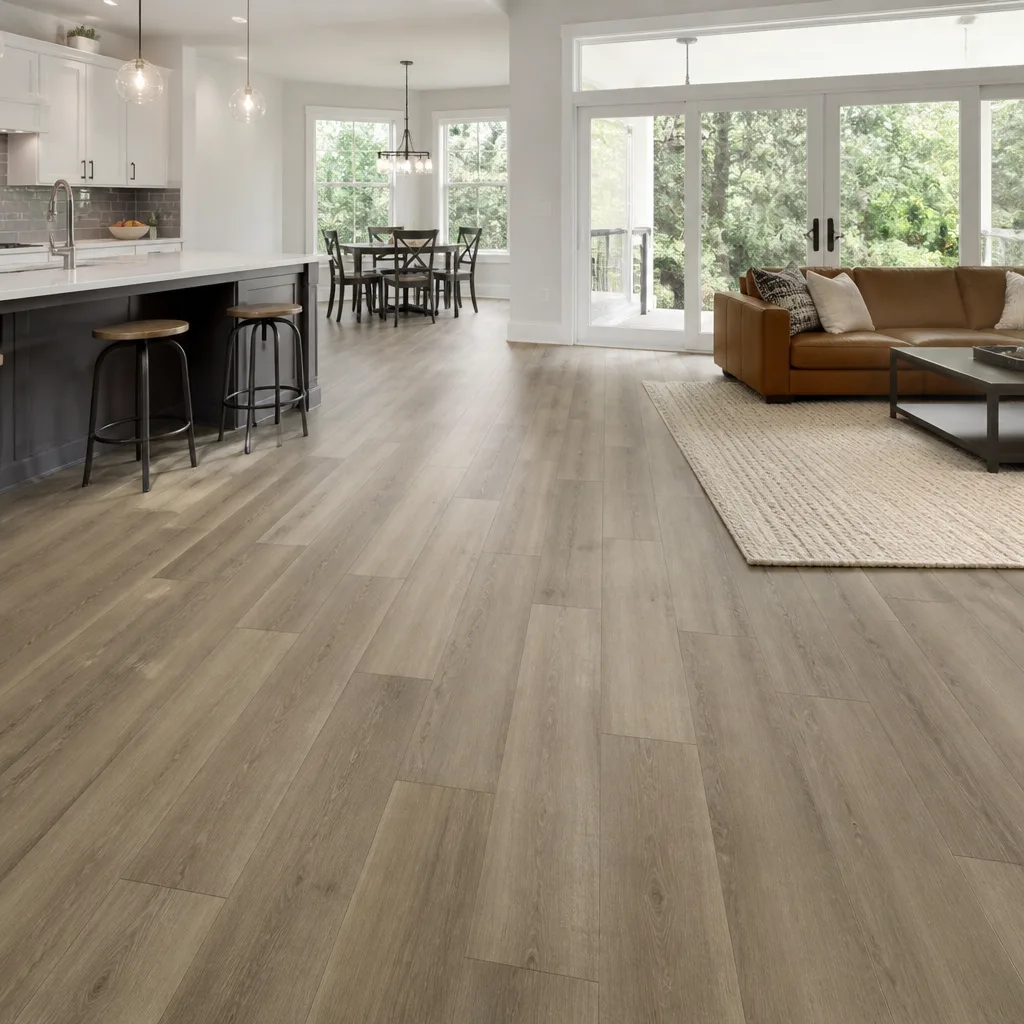 Luxury vinyl plank
 Laminate
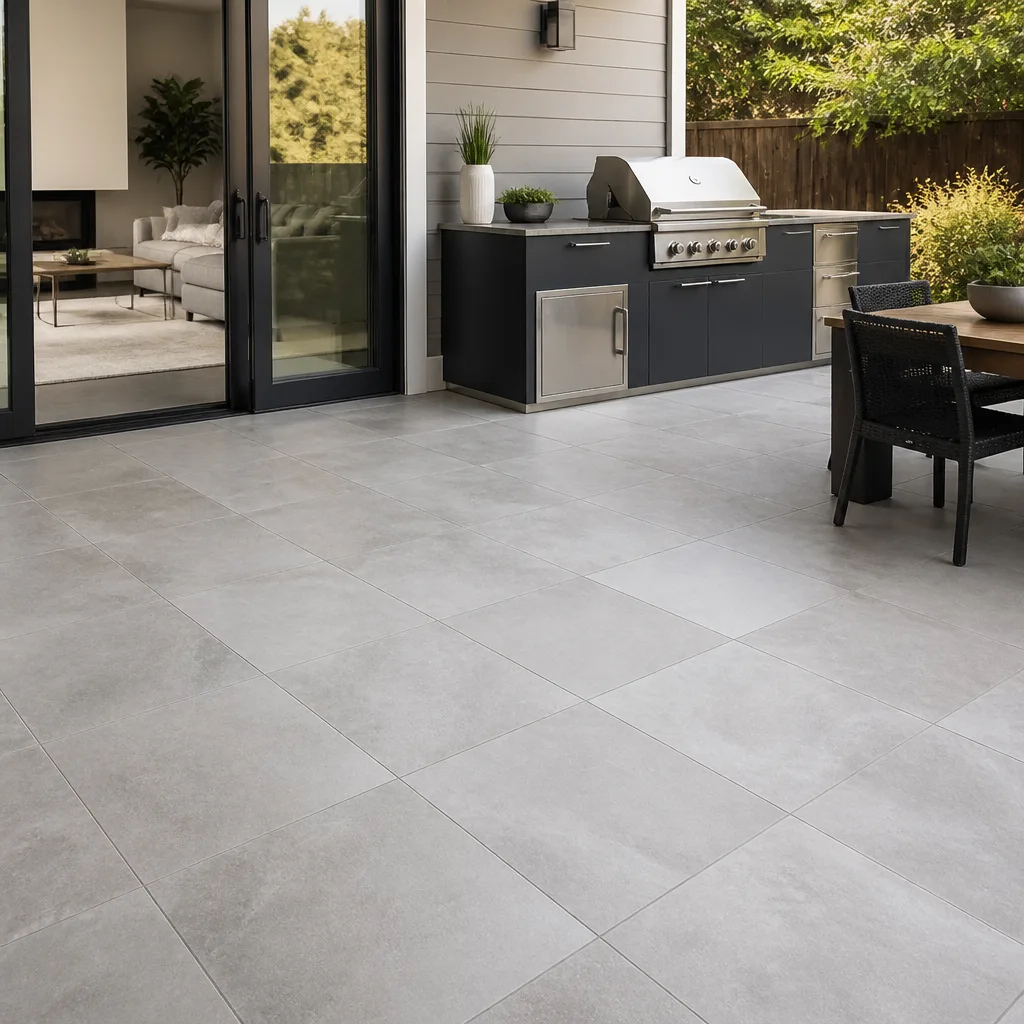 Porcelain tile
 Carpet
 Shaw
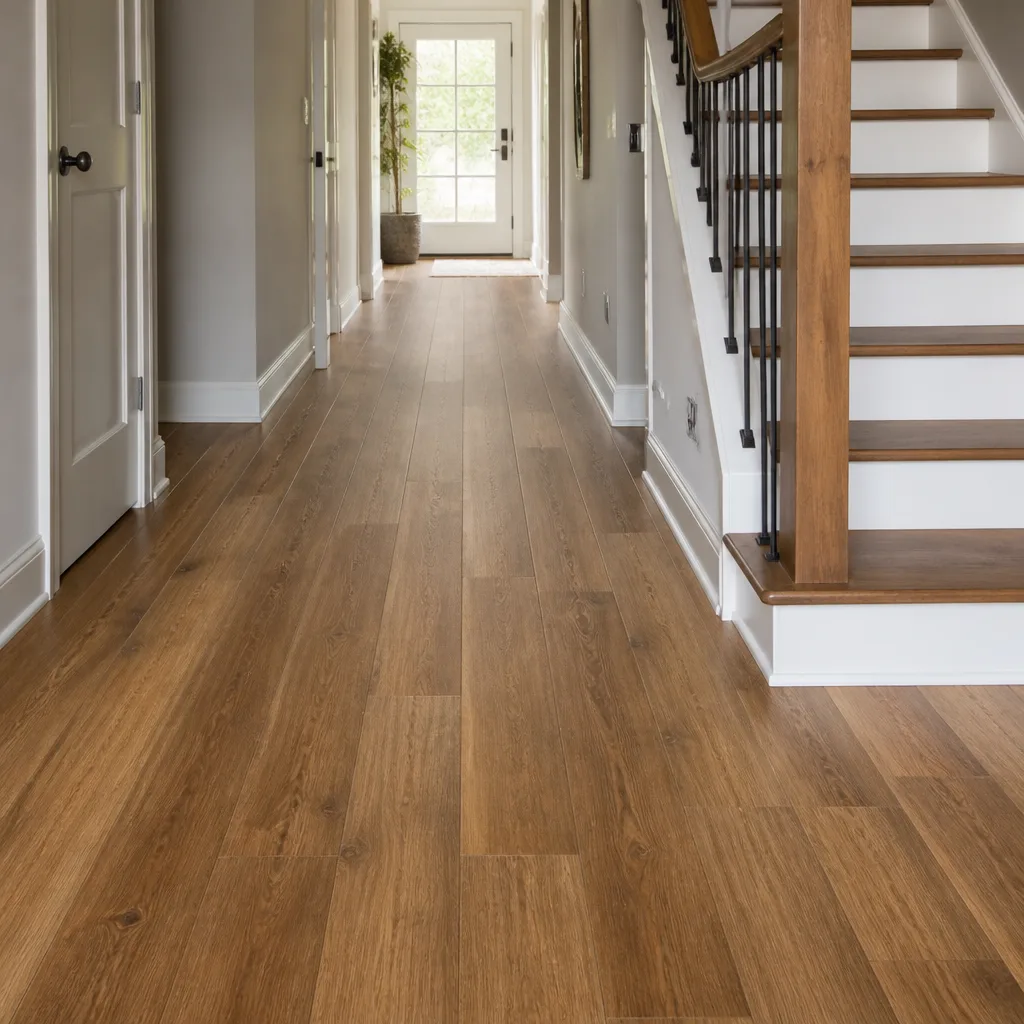 Mohawk
 COREtec
 Pergo
Free in-home measure and written estimate: Shaw, Mohawk, COREtec and Pergo lines compared on your own rooms, with carpet, tile, vinyl plank, laminate and hardwood laid out side by side
Get your free estimateHow to Care for New Flooring: Hardwood, Vinyl, Laminate, Tile and Carpet
Steam mops are sold everywhere and recommended everywhere, and they can permanently damage hardwood, most laminate, and some luxury vinyl plank when used on the wrong product. That’s the strange part about flooring care: the failures we see rarely come from neglect. They come from doing the wrong thing with good intentions, following generic advice that was written for a different floor in a different climate. A new floor in Sunrise Manor faces hard water, fine desert dust, and brutal afternoon sun through west-facing glass, and each of those needs a different response than a care label written for a humid suburb. This guide walks through what actually protects hardwood, vinyl, laminate, tile, and carpet here, from the first month through the long haul.
Quick Answer
Care for new flooring by matching the cleaning method to the material: sweep or vacuum dry grit daily, damp-mop (never soak) with a pH-neutral cleaner, and keep standing water off every seam. In Sunrise Manor, the bigger risks are mineral residue from hard water on tile and grout, UV fading and thermal movement through unfiltered windows, and over-wetting from steam or soaking mops that voids warranties on wood and laminate. Use the right tool for the surface, dry promptly, and protect the first 30 days of any new installation.
Styles & brands we work with
- Hardwood
- Engineered hardwood
- Luxury vinyl plank
- Laminate
- Porcelain tile
- Carpet
- Shaw
- Mohawk
- COREtec
- Pergo
Table of Contents
- Why the Wrong Cleaning Method Ruins the Right Floor
- Cleaning Protocols by Material
- The First 30 Days After Installation
- Hard Water, Tile, and Grout in Sunrise Manor
- Sun, UV, and Thermal Cycling
- What Voids a Flooring Warranty in the First Year
- Common Mistakes to Avoid
- When to Call a Professional
- Frequently Asked Questions
Why the Wrong Cleaning Method Ruins the Right Floor
A floor doesn’t fail because someone skipped a mop. It fails because someone used the wrong one. The right method on the right surface is gentle and repetitive: dry grit removal, a pH-neutral damp pass, and prompt drying. The wrong method is aggressive and dramatic: steam, excess water, or a harsh chemical that eats a finish or swells a core.
Here’s the pattern we see across Sunrise Manor. A homeowner buys a beautiful new floor, reads the care card once, and then falls back on habits built for an older home. A steam mop that was fine on old ceramic gets wheeled onto a new laminate. A vinegar-and-water mix that cut through buildup on tile gets used on a $7-per-square-foot luxury vinyl. Within months the edges start to cup, the joints lift, or the finish clouds, and no one connects the problem to the mop in the closet.
The fix isn’t complicated, and it doesn’t require a cabinet full of specialty products. It requires three principles applied consistently:
- Match the tool to the surface. A microfiber mop with a light dampness is not the same as a steam mop, which is not the same as a wet Swiffer, which is not the same as a sponge mop full of water.
- Respect water. Standing water is the enemy of every wood-based product and most floating vinyl assemblies. It sits in seams, wicks into cores, and works its way under baseboards.
- Control what gets tracked in. Most scratching and dulling is abrasion from grit, sand, and pet claws, not from the mop. Remove the grit before it grinds.
Get those three right and the floor you install today looks like the floor you installed last year for a long time. Get them wrong and the failure is usually visible within a season, especially under Sunrise Manor’s summer sun and the fine dust that finds its way inside on any windy day. That dust isn’t just cosmetic. Under foot traffic it becomes sandpaper.
Cleaning Protocols by Material
Each flooring category responds to a different set of rules. These are the category principles we use when we install and hand off a new floor, not brand-specific labels, because the principles hold across the Shaw, Mohawk, COREtec, Pergo, and the rest of the products we work with.
Hardwood: pH-neutral, barely damp, dry fast
Water is the enemy of solid and engineered hardwood. Use a pH-neutral wood floor cleaner, sprayed on a microfiber pad or applied to a barely damp mop, never poured. Wring until the mop is closer to dry than damp and follow immediately with a dry pass. Skip steam entirely: heat and moisture force their way into seams and finish, lifting edges and dulling the surface over time. Vacuum with a hard-floor head and dry-mop daily in high-traffic zones. Never use vinegar, oil soaps, or all-purpose sprays designed for tile. If the finish starts to look dull, plan a professional screen-and-recoat rather than trying to restore the shine with a “rejuvenating” product, which can trap dirt and disrupt the finish.
Luxury vinyl plank: water-resistant is not waterproof
Products like COREtec and Pergo luxury vinyl tolerate more moisture than wood, and most are water-resistant, which is not the same as waterproof. Standing water will still find seams and edges. Sweep or vacuum dry, then damp-mop with a pH-neutral cleaner, and dry the surface promptly. Never steam-mop these floors unless the product instructions explicitly allow it; the heat can soften adhesive and warp planks, particularly on floating installations. Avoid abrasive scouring pads and harsh solvents. Wipe spills immediately, especially near perimeter gaps.
Laminate: keep it nearly dry
Laminate has a composite core that swells when water gets in. Treat it like hardwood for cleaning: barely damp, pH-neutral, dried immediately. Never use a steam mop, never use a sponge mop loaded with water, and never flood-mop. Sweep daily, use felt pads under furniture, and place mats at doors so grit doesn’t abrade the wear layer. Avoid waxes and polishes; they build up and dull the finish.
Tile: clean the grout, not just the surface
Ceramic and porcelain, like the Daltile surfaces we install, are forgiving. The grout is what needs attention. Sweep or vacuum first, then damp-mop with a pH-neutral tile cleaner. Save the heavier cleaner for occasional deep cleans, not routine ones, because repeated strong alkaline cleaning can leave a dull film. For grout lines, a soft-bristled brush with a pH-neutral grout cleaner once a month in high-traffic areas keeps them from darkening. Never use acidic cleaners on cement-based grout; they eat the binder. Keep the water clean and change it often.
Carpet: dry soil removal, then spot treatment
Carpet lives or dies on vacuuming. Vacuum regularly with a beater-bar head on high-traffic paths and around doorways. Blot spills with a clean white cloth working from the outside in, then use a carpet-appropriate spot cleaner, following the product instructions. Don’t scrub, because it fuzes fibers. Avoid over-wetting; a damp carpet with a wet pad underneath can grow a smell and damage the pad. For deep cleaning, professional hot-water extraction done at the right schedule for the home is the safest route.
The First 30 Days After Installation
New flooring needs a break-in period, and the correct care steps differ depending on whether the floor is adhesive-down, nailed, or floating. The first month is when the installation settles into the home: adhesive cures, planks expand and contract, and seams find their resting position. How you treat the floor during this window matters as much as any single cleaning decision.
- Let the installation settle before heavy cleaning. On adhesive-down installations, planks and tile sit on a bed of adhesive that needs time to fully cure. Keep the floor dry and avoid pulling heavy furniture across it until the adhesive has set, which the written estimate and product instructions spell out for your specific product.
- Reset the perimeter. Floating floors need expansion gaps at walls. Check that baseboards and transitions aren’t pinching the edges, and leave the gaps alone if they look wide; they’re intentional.
- Add felt pads and door mats. Put felt pads under every piece of furniture that touches the floor, including chair legs and the corners of sofas. Place mats at every exterior door to catch grit before it travels.
- Control humidity before you clean. Wood-based and laminate floors move with humidity. In a dry desert climate, the indoor air can swing a lot between air-conditioned afternoons and cooler nights. The product instructions and written estimate tell you the range to aim for; a whole-home humidifier or simple room control usually handles it.
- Set a cleaning routine that respects the material. Dry-dust the surface daily for the first thirty days so you get familiar with what the floor tolerates. Note how it responds to a damp mop and dial back if you see water sheeting on the surface.
- Watch for a problem in the first week. If a plank lifts, a seam separates, or the floor sounds hollow, note it and call the installer. Issues caught early are handled at the source, not after a season of use.
Floating installations are a bit more forgiving than adhesive-down, because the planks move as a unit and are easier to check. But they’re also more sensitive to water finding its way under the floating layer, so keep spills wiped up immediately. The point of the break-in period isn’t mystery; it’s to give the installation time to settle and to learn what your specific product tolerates before you build habits.
Hard Water, Tile, and Grout in Sunrise Manor
Sunrise Manor’s water is on the hard side, and that shows up on tile and grout long before it shows up anywhere else. Hard water leaves mineral deposits that look like a light haze on porcelain and a chalky film in grout lines. Left alone, the deposits trap soil, which darkens the grout and can stain permanently. This is the single biggest tile care issue we see in Sunrise Manor homes, and it isn’t solved by a stronger mop.
The routine that works:
- Wipe standing water off tile and grout after cleaning. Don’t let water evaporate on the surface; that’s where the minerals stay behind.
- Use a pH-neutral tile cleaner for routine cleaning, and save the heavy cleaners for occasional deep cleans.
- Clean grout with a soft-bristled brush and pH-neutral grout cleaner once a month in high-traffic areas and near showers, then dry the grout lines before traffic returns.
- Re-seal grout on a schedule appropriate to your home’s traffic. Grout sealer isn’t permanent, and how often it needs reapplying depends on the product and the way the floor is used. When water beads on the surface instead of soaking in, the sealer is still doing its job; when water soaks in evenly, it’s time to reseal. The product instructions and your written estimate set the specifics for your floor.
For a whole-home renovation in Sunrise Manor, this matters most in kitchens, bathrooms, and laundry rooms, where water sits. Getting the sealing schedule right from the beginning is far cheaper and easier than repairing stained grout later. We prefer to build the sealing expectation into the initial scope rather than leave the homeowner guessing.
Sun, UV, and Thermal Cycling
Sunrise Manor gets intense western sun and dramatic swings between hot afternoons and cool nights. That combination is hard on hardwood, laminate, and any flooring with a printed wear layer. Two problems happen at once: UV exposure fades the color and dulls the finish of wood and laminate, and thermal cycling causes the floor to expand and contract slightly through the day. Repeated movement can open micro-gaps between planks over time, especially where the sun hits hardest.
Practical mitigation, in order of impact:
- Filter the light. UV-blocking window film, solar shades, or lined curtains on west- and south-facing windows reduce both fading and heat gain. This is the single most effective step, and it helps with cooling costs too.
- Move area rugs and furniture periodically. UV exposure creates visible color shifts where the sun never hits, so a rug left in one place for a year can leave a permanent outline on hardwood. Rotate rugs and furniture a few times a year.
- Keep the indoor humidity stable. Thermal cycling is less of an issue when the home’s humidity stays in a stable range; swings in humidity cause more movement than temperature alone.
- Watch the gaps. Micro-gaps that open and close seasonally are normal on floating floors. Gaps that stay open through the winter warrant a call, because something else is going on.
We’ve seen this pattern across Sunrise Manor homes where a large west-facing slider bakes the same strip of floor every afternoon. The floor isn’t failing; it’s doing exactly what wood does when it’s left in direct sun. Shade and humidity control are the answer, and both are cheap compared to replacing a floor that faded in three years.
What Voids a Flooring Warranty in the First Year
Manufacturer warranties on hardwood, laminate, vinyl, and tile have similar skeletons, and standard language typically ties coverage to proper installation, proper maintenance, and normal use. In the first year, the things that void coverage are almost always homeowner-side and avoidable. They are also, unfortunately, easy to do by accident.
Common warranty-voiding mistakes:
- Steam-mopping wood-based floors. Standard manufacturer language excludes damage from steam cleaners and excessive moisture, and it’s one of the most common early failures.
- Using wet or soaking mops. Standing water on laminate or engineered wood can void coverage even if it’s used “just once” on a big spill.
- Harsh chemicals. Acidic or strongly alkaline cleaners that lift finishes, dull wear layers, or damage grout binder fall outside warranty coverage.
- Humidity neglect. Wood floors need indoor humidity in a range the product instructions and written estimate set. Wide swings from dry desert air or unaddressed leaks are grounds to deny a claim.
- Furniture impact and dragging. Scrapes and dents from moving furniture without felt pads or a lift fall under “normal use” only if the floor was protected as instructed; where the product relies on protection, impacts without it are typically excluded.
- Failing to follow the specific product instructions. This is the broadest exclusion. Whatever your floor’s written maintenance guide says is the standard, and anything outside it is a gap the manufacturer can point to.
- Unapproved cleaning products. Some products explicitly require pH-neutral cleaners; using an unapproved product is a defect the manufacturer can use to deny a claim.
Keep your product documentation, your written estimate, and your installer’s contact details in one place. If a problem does arise, the first call should be to the installer, not a warranty claim, so the real cause can be identified before anyone points fingers.
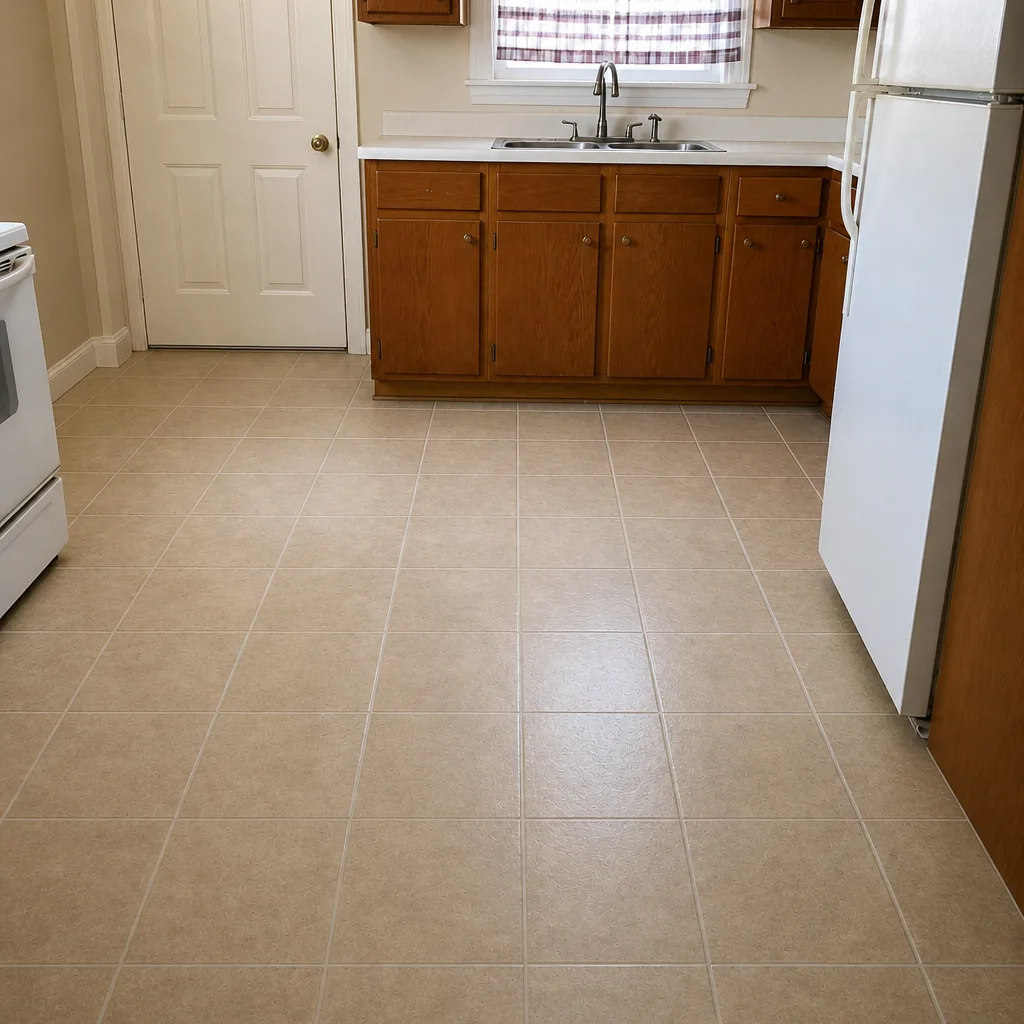
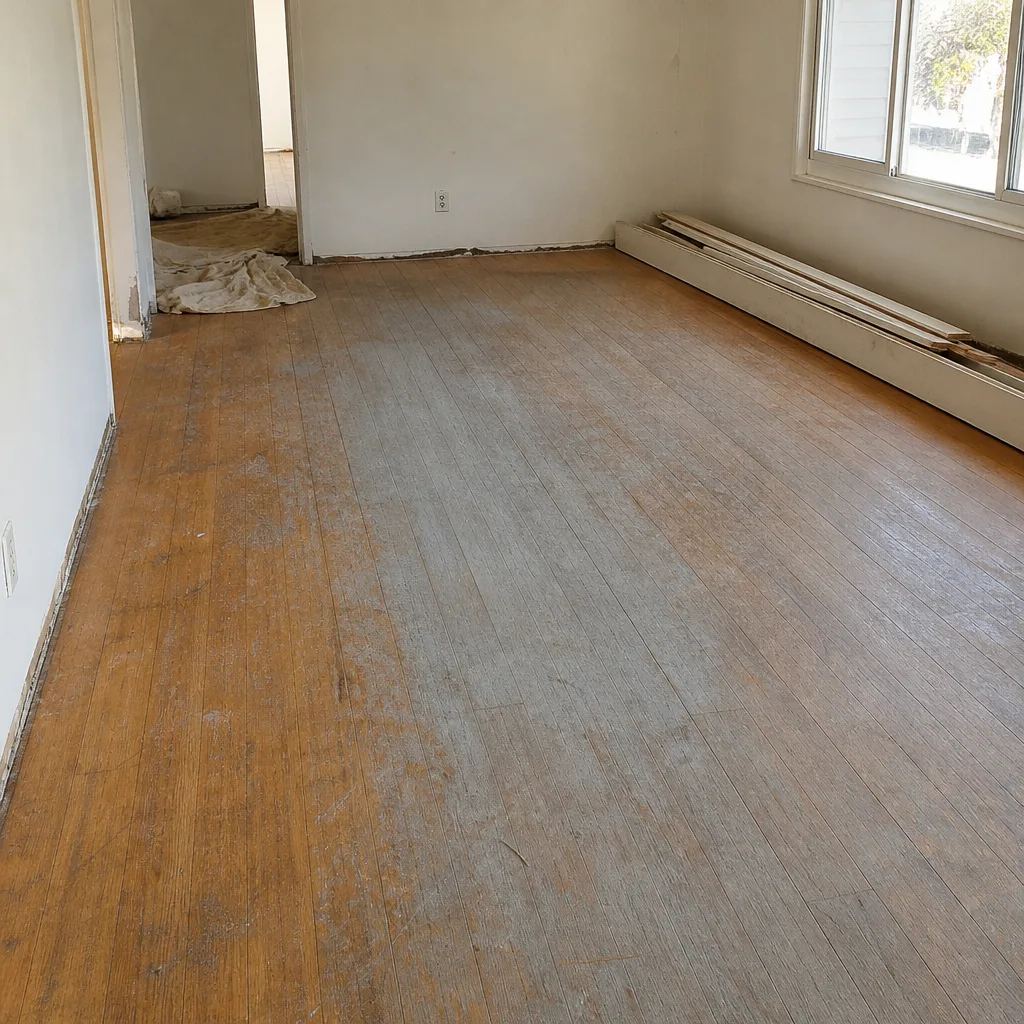
See the difference
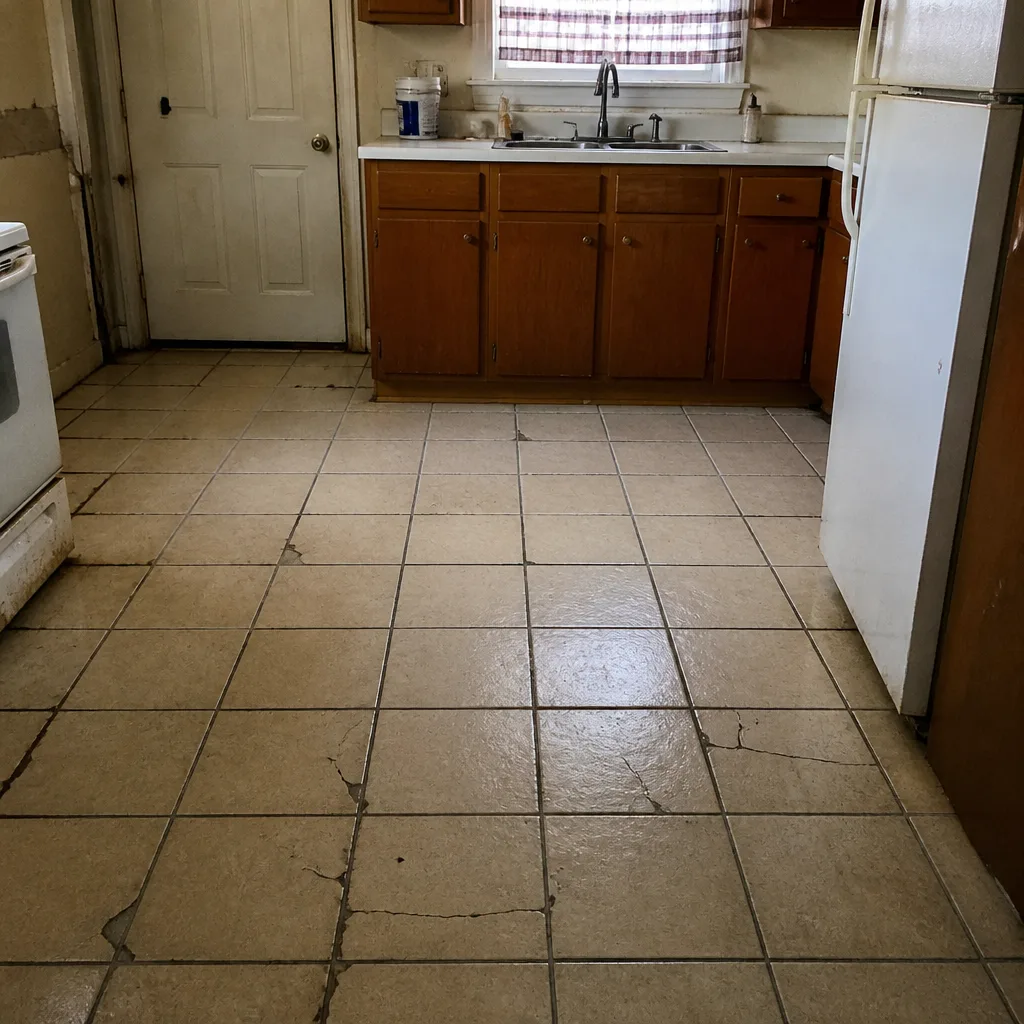 Before
 After
 Before
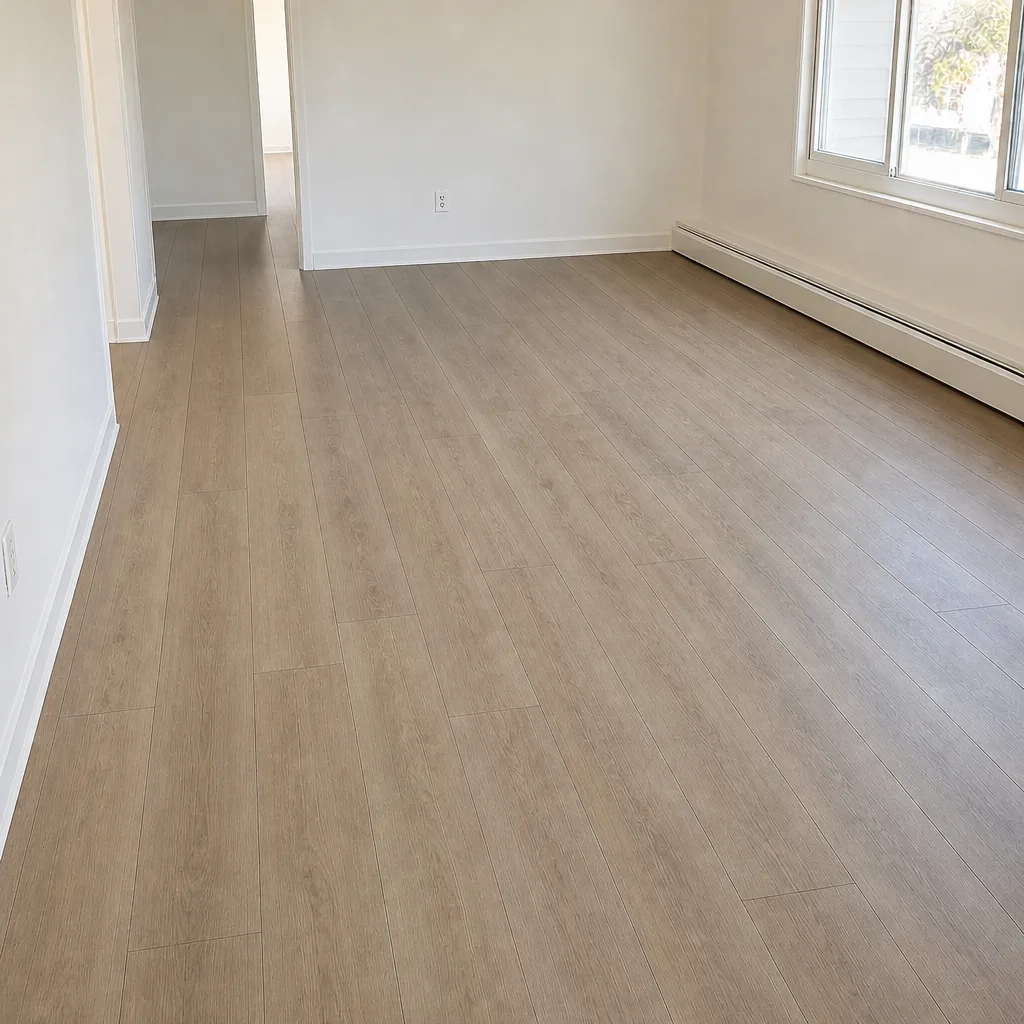 After
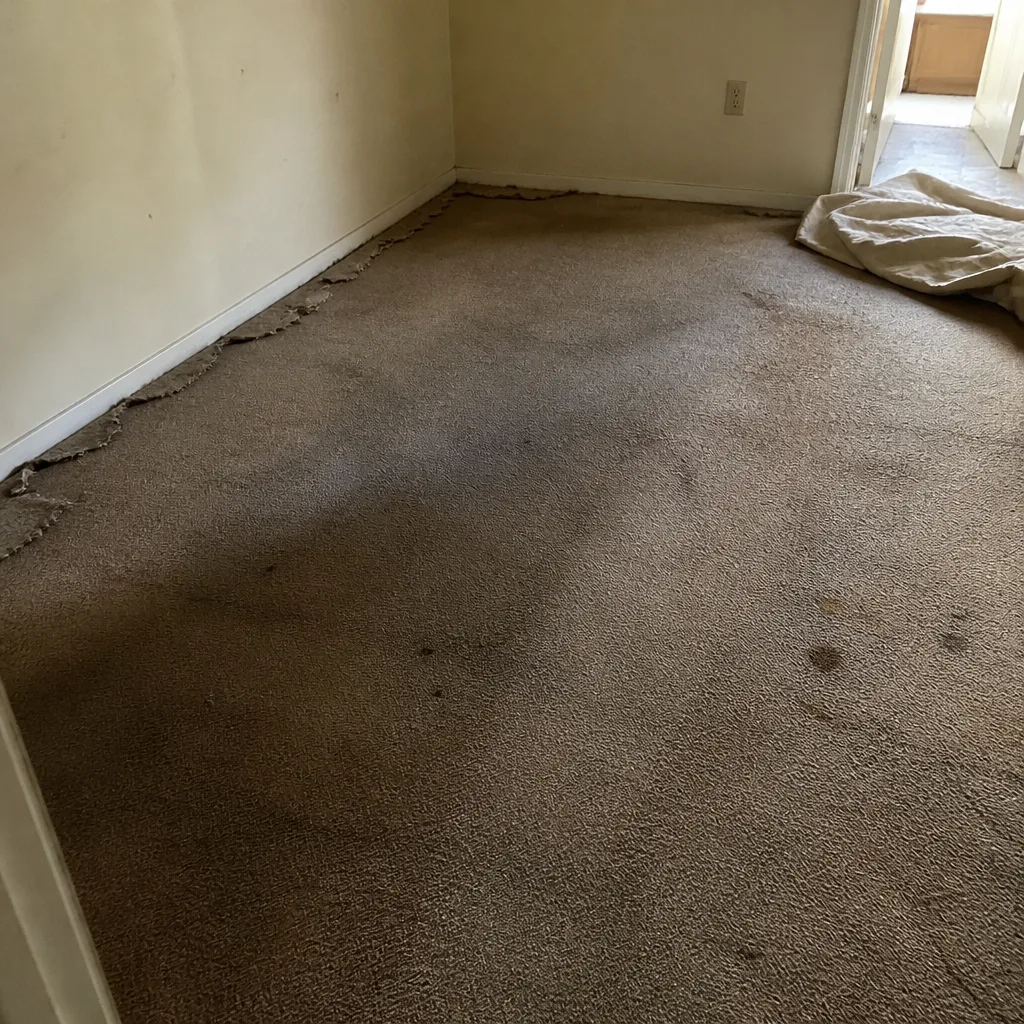 Before
 After
Common Mistakes to Avoid
- Steam-mopping everything because it feels cleaner. Steam is fine on some tile and disastrous on hardwood, most laminate, and many vinyl planks. Read the product instructions before the first mop ever touches the floor.
- Using vinegar on tile and grout. Vinegar cuts mineral buildup, but it eats cement-based grout binder over time. Swap it for a pH-neutral grout cleaner.
- Wet-mopping laminate and engineered wood. A soaked sponge mop pushes water into seams. Use a barely damp microfiber mop and dry immediately.
- Ignoring what tracks in from outside. Sunrise Manor’s fine dust is abrasive. Without door mats and regular sweeping, it grinds away finishes and dulls wear layers.
- Forgetting felt pads. Every chair, table, and sofa leg needs a pad. A single unprotected leg will find the worst possible spot on a new floor within weeks.
- Letting the sun do the work. Unfiltered west-facing windows fade hardwood and laminate and cause thermal movement. Shade the floor before you see the outline of a rug in three years.
- Treating “waterproof” as a license to soak. Water-resistant products like COREtec and LifeProof handle spills well, but standing water still finds seams and edges. Wipe it up.
When to Call a Professional
Most care decisions can be made at home with the right tools and a pH-neutral cleaner. Some problems shouldn’t be handled that way. Call a flooring professional when:
- A plank lifts, a seam separates, or the floor sounds hollow in a spot that’s getting worse.
- You see cupping or crowning along the edges of hardwood or laminate, which usually means water is reaching the subfloor and needs to be found.
- Grout is staining faster than routine cleaning can address, or water no longer beads on the surface.
- You want a hardwood floor refinished rather than replaced. Refinishing depends on the thickness of the wood and its condition, checked at the estimate visit.
- A stained area on carpet won’t lift with a spot cleaner and proper blotting, and the carpet padding underneath feels damp.
- You’re planning a multi-room install and want one installer to handle carpet, tile, and refinishing so the transitions line up.
Flooring Installation Sunrise Manor offers free estimates in Sunrise Manor. Call (855) 799-4650. We answer 24/7. Fast dispatch from 7am to 7pm, Sunday through Friday. Our technicians have up to 14 years of experience, and we work with nine brand-name lines across carpet installation, tile flooring installation, and hardwood refinishing. If you’re still choosing a floor, our Flooring Installation Sunrise Manor service page walks through the category choices, and our Sunrise Manor pages cover how flooring fits our work here.
Frequently Asked Questions
Dry-clean daily in high-traffic areas and damp-mop weekly, adjusting for pets and dust. Sunrise Manor’s fine dust is abrasive, so sweeping or vacuuming before mopping does more to protect the finish than any cleaner.
No. Steam mops force heat and moisture into seams and finishes, and standard warranty language excludes damage from them. Use a barely damp microfiber mop with a pH-neutral cleaner, and dry immediately.
Over time, yes, if it’s left to dry on the surface. Minerals trap soil in the grout lines and leave a haze on porcelain. Wipe water off after cleaning and reseal grout when it stops beading. Call (855) 799-4650 for a free estimate on resealing or replacing tile.
The installation schedule is set at the estimate, since it depends on the product, room count, and how the existing floor comes up. What we can promise is a free estimate, a written price, and a booked install day rather than a same-day commitment.
Standard manufacturer language excludes steam cleaning, soaking mops, harsh chemicals, humidity neglect, dragging furniture without protection, and any use outside the product’s written maintenance guide. Keep the instructions and the estimate together, and call your installer first if something looks wrong.
Often, yes. Refinishing depends on the thickness of the wood and its condition, checked at the estimate visit. It’s usually the value-conscious route when the boards are solid, and we do it as a standalone service.
Yes. We measure the space, go over the material options, and leave you with a written price. Call (855) 799-4650 to schedule. We answer 24/7. Fast dispatch from 7am to 7pm, Sunday through Friday.
The Bottom Line
New flooring care comes down to three things: match the tool to the material, keep standing water off every seam, and control the things the home throws at the floor, from dust to UV to humidity. In Sunrise Manor, that means paying particular attention to hard water on tile and grout, sun exposure on west-facing floors, and the fine desert dust that turns into an abrasive under foot traffic. Skip the steam mop on wood and laminate. Read the product instructions, keep the estimate and documentation together, and call your installer before a small issue becomes a big one. Do that and the floor you installed will look like the floor you love for a long time.
When it’s time to install, refinished or replaced, we’re a flooring-only specialist with nine brand lines and a single focus. Call (855) 799-4650 for a free estimate.
Written by the team at Flooring Installation Sunrise Manor.