
Last updated November 18, 2026
 Hardwood
 Engineered hardwood
 Luxury vinyl plank
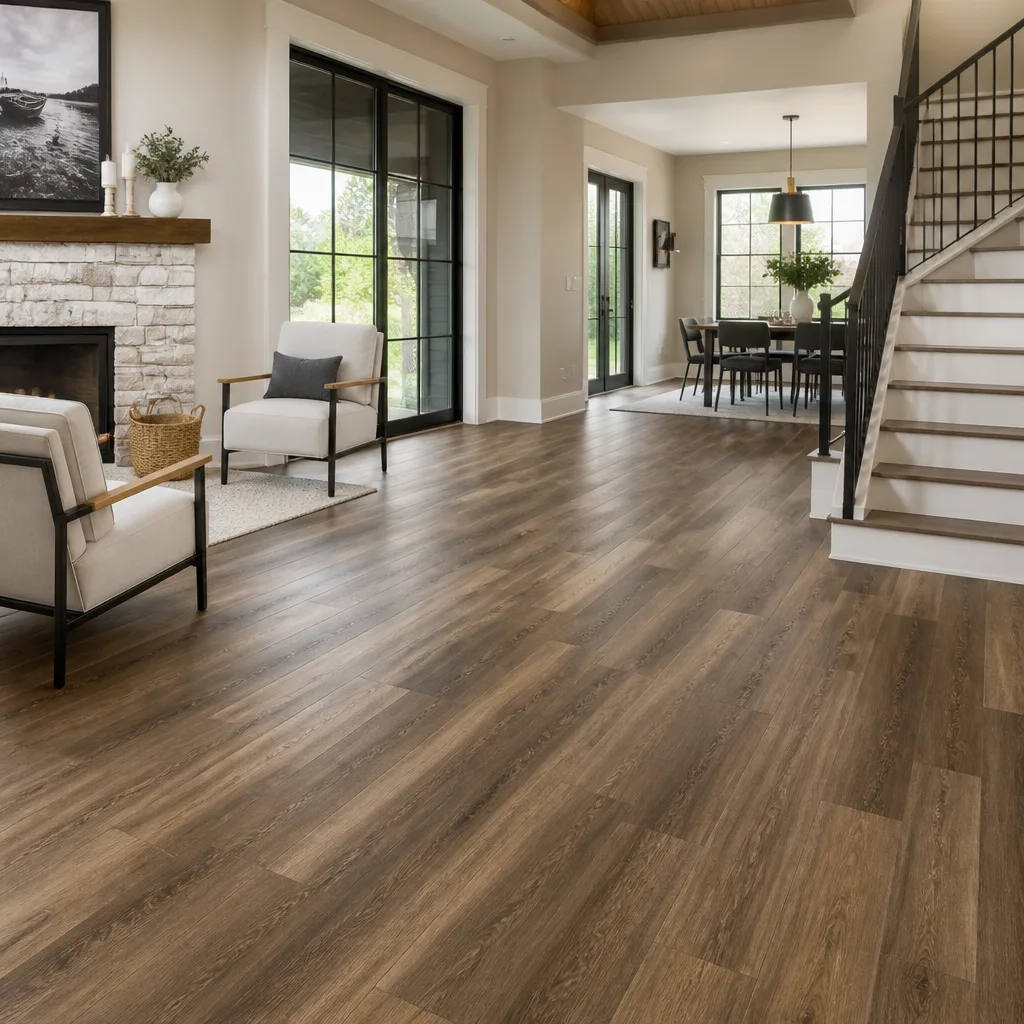 Laminate
 Porcelain tile
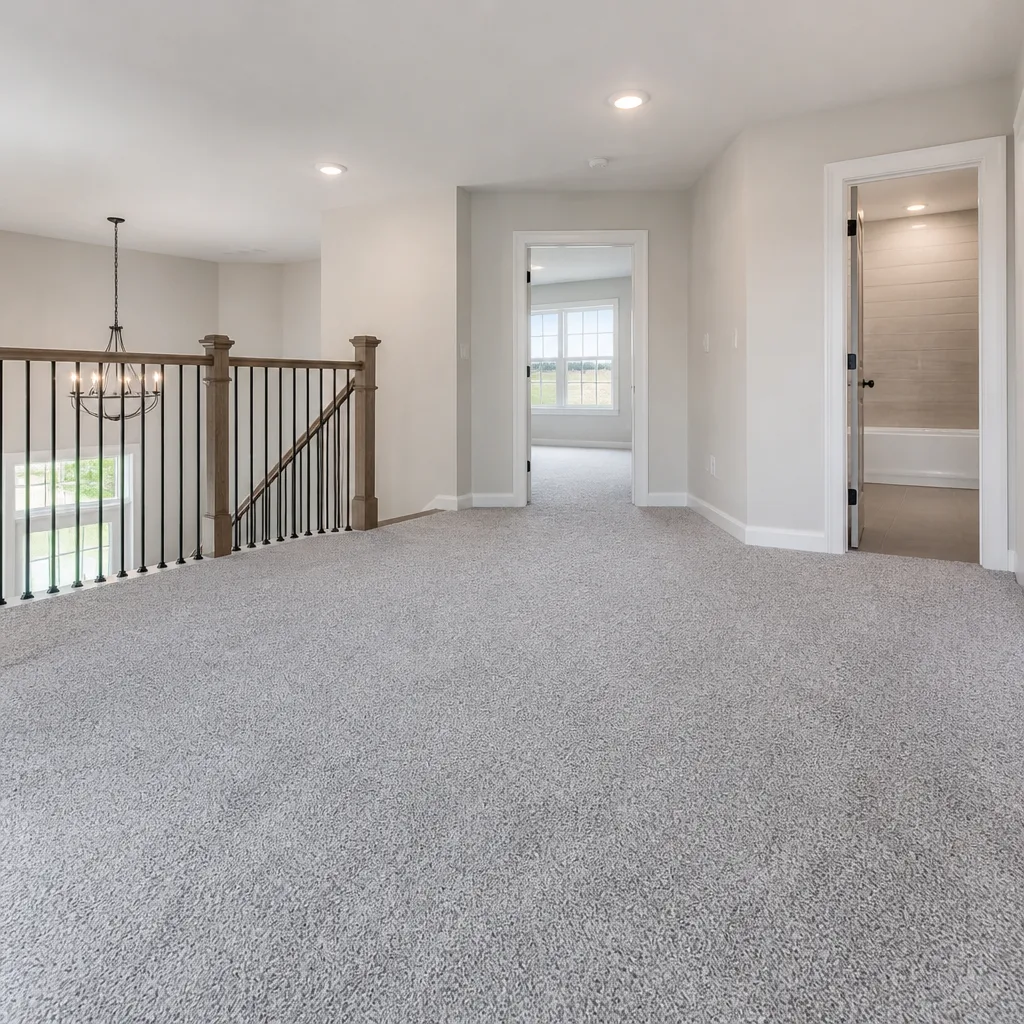 Carpet
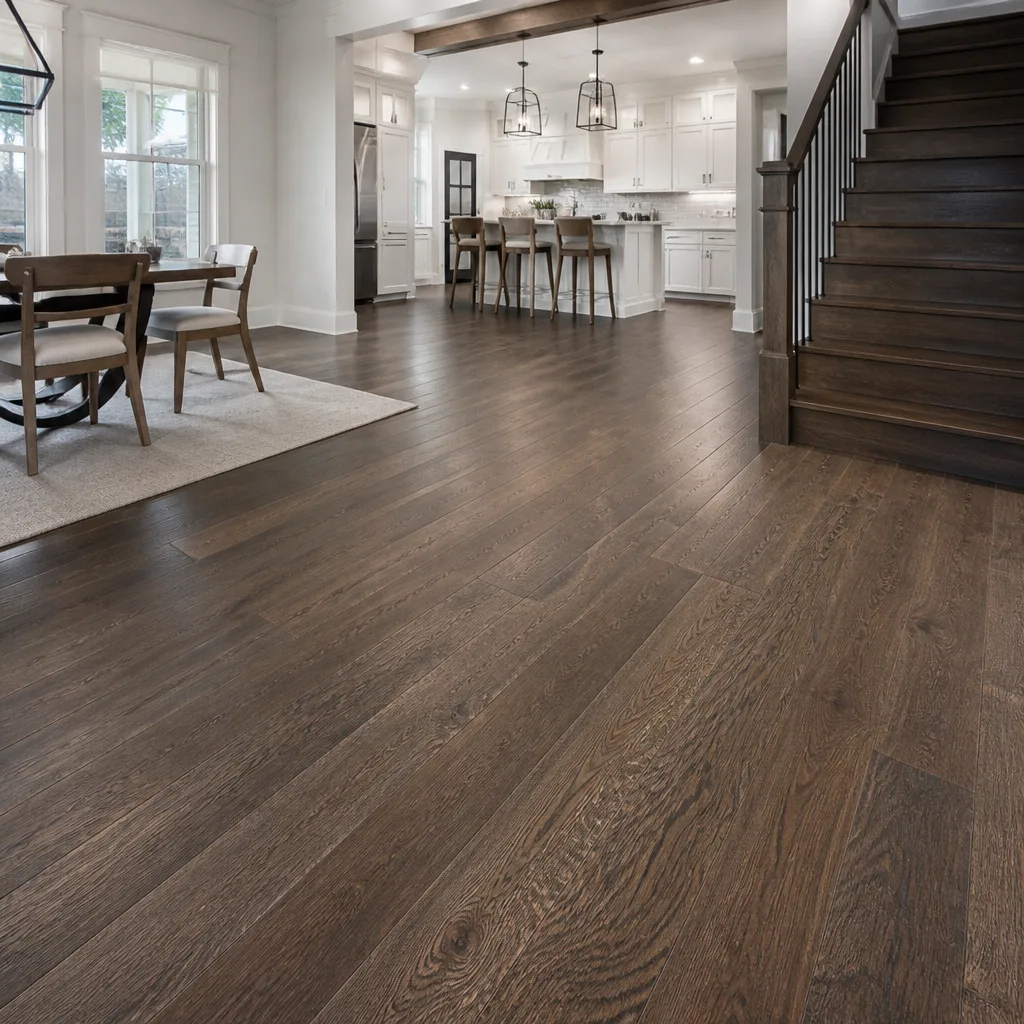 Shaw
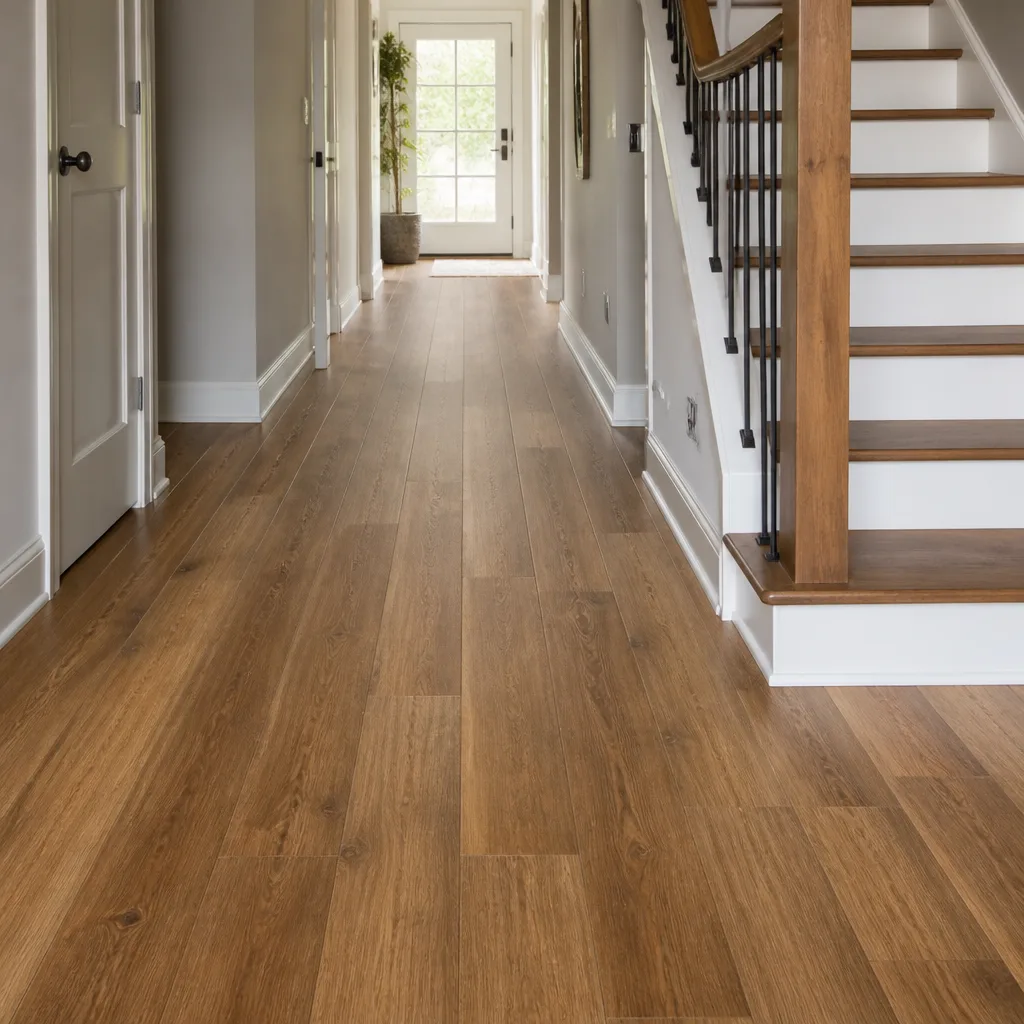 Mohawk
 COREtec
 Pergo
Free in-home measure and written estimate: Shaw, Mohawk, COREtec and Pergo lines compared on your own rooms, with carpet, tile, vinyl plank, laminate and hardwood laid out side by side
Get your free estimateHow to Prepare Your Home for a Flooring Installation in Sunrise Manor
Most preparation guides hand you a checklist and send you off. Move the furniture, pull the baseboards, keep the pets out. What they skip is the reason behind each step, and that’s where the money is. A floor doesn’t fail because the installer was careless. It fails because the room wasn’t ready in a way that matters: the material never settled, the subfloor was hidden under a heavy hutch, the air was too hot and dry for the adhesive to cure right. In Sunrise Manor, where summer heat and single-digit humidity push materials harder than most places in the country, preparation isn’t busywork. It’s the difference between a floor that locks down flat and one that peaks at the seams six months later. This guide walks through each preparation step and tells you why it exists, so you can make calls that protect both the new floor and the budget you set for it.
Quick Answer
To prepare for a flooring installation in Sunrise Manor, clear the room completely and empty closets, remove or plan around baseboards and door casings, arrange for a licensed mover if a heavy item won’t come out by hand, and keep your HVAC running steady before, during, and after the job so the material and adhesive see stable conditions. Then leave the new floor undisturbed through the cure or settling window the installer gives you, pets included. Skip any one of these and the floor can buckle, gap, or telegraph every flaw underneath.
Styles & brands we work with
- Hardwood
- Engineered hardwood
- Luxury vinyl plank
- Laminate
- Porcelain tile
- Carpet
- Shaw
- Mohawk
- COREtec
- Pergo
Table of Contents
- The Acclimation Window in Sunrise Manor’s Climate
- What “Clear the Room” Actually Means
- Handle Baseboards and Door Casings Before Install Day
- The HVAC Rule: Before, During, and After
- Managing Pets During and After Installation
- What Happens to the Old Floor
- Installation Day: What to Have Ready
- Common Mistakes to Avoid
The Acclimation Window in Sunrise Manor’s Climate
Acclimation is simply letting flooring material sit in the room where it will be installed so it takes on the room’s temperature and humidity before anyone cuts or fastens it. Every material needs it, but the window differs, and in Sunrise Manor’s desert climate those windows are not the same as a coastal or humid-market installer would quote you. Our technicians have up to 14 years of experience reading how materials behave here, and the pattern is consistent.
Why does the window vary? The material’s construction dictates how much it can move. Solid wood and engineered wood expand and contract across their grain as humidity shifts, so they need the longer end of the acclimation range to settle into the room. Luxury vinyl products like LifeProof or Mannington move less than wood, so their window is usually shorter, though not zero. Floating floors that click or lock together are more forgiving than glue-down or nail-down installations, but “more forgiving” is not “no acclimation needed.” If the material is still adjusting when the seams are pressed shut, the floor does the adjusting after the job is done, and that’s when you see peaking at the seams or a gap along the wall.
In Sunrise Manor, the swing between a cool, air-conditioned room and summer heat above 100 degrees is the biggest variable. Bags and boxes that arrive in a hot truck need time to reach indoor conditions before they’re opened. If your estimate visit happens in one season and the install lands in another, ask the installer to confirm the acclimation window for the specific product you chose. The flooring brand’s own instructions set the exact number, and the written estimate tells you what we’ll do. What we won’t do is guess.
One more thing: open the boxes only when the installer says so. Material left in sealed packaging doesn’t acclimate; it just sits. The instructions on the carton usually cover opening, spacing, and stacking, and those details change by brand.
What “Clear the Room” Actually Means
“Clear the room” is the instruction almost every customer hears and very few get precise. In practical terms, it means everything leaves the floor: furniture, area rugs, lamps, plants, wall art sitting on the floor, floor-level shelves, and every bit of clutter in a closet whose floor is being replaced. What it does not always mean is that you have to move a 400-pound safe, an upright piano, a built-in bookcase, or a refrigerator by yourself. What your installer will and won’t move depends on the company, and that’s worth asking at the estimate, not the morning of the job.
Here’s the general rule installers work by, with the caveat that the written scope is the final word:
- Empty every closet whose floor is being replaced, not just the shelf items. A closet floor is still a floor.
- Move heavy furniture ahead of time if it’s safe for you to do. If it isn’t, arrange a moving helper or a mover before install day.
- Leave appliances in place unless told otherwise. A refrigerator or washer and dryer typically gets moved or worked around only when the scope says so, and its water line or drain hose may need disconnecting first.
- Remove small flooring blockers yourself: pet bowls, rugs, exercise mats, and anything sitting under a leg of a piece of furniture that could scratch a new floor.
- Empty and remove any floor-level shelving unit that isn’t permanently attached. If it is attached, tell the installer so it can be handled as part of the scope.
Ask two questions at the estimate and write the answers down. Which items are on us to clear, and which are on you. A clear answer there saves the confusion on the morning of installation, and it’s usually why a job starts on time.
What Happens to the Old Floor
The old floor is part of the plan, and it needs a decision before install day. In some installations, a new floor goes right over the old one; in others, the old floor comes up first. That choice affects remediation, disposal, and sometimes whether the new material is even recommended over what’s underneath. Which path applies depends on the old floor, the new floor, and the condition of the subfloor once everything is exposed.
Here’s what to think through:
- Over-the-top installs can work when the existing floor is flat and sound, and the new floor’s instructions allow it. That can save time, but it also means any hidden issue underneath stays hidden.
- Removal and disposal raises the amount of debris. Ask where it goes, how it leaves the property, and whether it’s part of the scope or a separate line on the estimate.
- Subfloor condition can only be truly judged once the old floor is up. Flatness, moisture, and damage are checked at that point. Plan for the possibility that a surprise shows up.
- Old carpet with pets often carries more odor than the homeowner expects. If that’s the situation, ask the installer whether subfloor prep is likely before you assume installing new carpet over it will solve the problem.
If a surprise turns up under the old floor, a good installer tells you immediately and gives you options before continuing. That’s part of preparing for installation in Sunrise Manor just as much as moving the sofa out is.
Handle Baseboards and Door Casings Before Install Day
Baseboards and door casings sit against the wall at the floor line, and a new floor is thicker than the old one almost every time. That means they can’t simply stay in place while the new floor slides under. You have two choices, and the price of each is very different.
Option one: you remove them yourself. This saves the labor cost of removal and replacement. It’s a job most homeowners can do with a trim pry bar and a utility knife to score the caulk line. Save the boards, label them by room, and store them flat. Not every baseboard survives removal, especially in older homes where the paint and caulk have bonded the trim to the wall, so count what breaks and keep the option open to replace rather than reuse.
Option two: you leave them, and the installer handles them. Here’s what that actually looks like. Depending on the installation method, the installer may cut the baseboard along the floor line with an undercut saw, leaving the top portion in place; or pull and reinstall the trim; or run the new floor up to the baseboard and finish the gap with shoe molding. Door casings may be undercut with a jamb saw so the new floor slides underneath and the casing stays put. Each method changes the finished look and the scope, so it needs to be part of the estimate, not a decision made mid-job.
In Sunrise Manor, where many homes have been through a few flooring changes over the years, baseboards sometimes aren’t the originals, and what you find under them might not be either. That’s fine. Just be clear in the scope about who’s handling the trim and what happens if it comes off in pieces.
The HVAC Rule: Before, During, and After
Your air conditioning is a working part of an installation here. In Sunrise Manor’s desert climate, humidity swings matter less than temperature swings, and adhesive and flooring materials feel both. The floor’s instructions set the exact temperature and humidity range, but the practical rule is this: keep the HVAC running in the room being installed (and the adjacent rooms whose air reaches it) at a steady, normal living temperature starting at least a few days before the job and running all the way through the cure or settling period after.
Why the “before” matters: material acclimating in a hot, sealed-up house will take longer to reach stable conditions, and the acclimation window in the schedule suddenly isn’t enough. Why the “during” matters: adhesive cure depends on stable conditions, and a room that’s been shut off all day can leave glue tacky at the edges. Why the “after” matters: floating floors are more forgiving than glue-down or nail-down, but even they can expand into a seam or gap if the room’s temperature runs far past what the material just settled into.
- Set the thermostat to a normal living temperature for the room, and leave it there.
- Keep doors and windows closed during installation. Desert dust and heat moving into the room is not helpful.
- Don’t turn the system off “to save money” on install day or in the days after. Ask the installer what specific range to keep the room at, then hold it.
- Run it through any cure or settling window the installer gives you. Most products will show it in the instructions; the written estimate tells you how long.
If your HVAC can’t keep up in the middle of summer, that’s a conversation to have at the estimate, not on install day. A schedule that accounts for it is a schedule that doesn’t stall.
Managing Pets During and After Installation
Pets and installation don’t mix well for reasons beyond comfort. A small paw pressed into tacky adhesive leaves a lasting mark. A dog that bursts across a just-laid floating floor can pop a seam. A cat that gets shut into the room where the floor is being installed can leave a surprise under a baseboard that no one finds for months. The point isn’t that pets are unwelcome; it’s that they need a plan during the specific windows when flooring is most vulnerable.
- Before install day: arrange a room or a neighbor’s house where pets can stay for the full install window. A closed bedroom in the same house often isn’t enough, because installers need to walk in and out of it.
- During the job: keep pets away from the work zone entirely, not just shut in the next room. Doors opening and closing, tools and debris, and unfamiliar faces are also a stressor. Boarding is the safest option if the install spans more than a day.
- After adhesive or a floating install: keep pets off the new floor through the cure or settling window the installer tells you. For glue-down work, that’s short. For floating floors it’s about letting the floor settle without a hard impact landing on it.
- Coming in from outside: in Sunrise Manor, dog paws track in desert grit. A doormat at each entrance and a quick wipe down of paws helps the new floor keep its finish long after install day.
Pet urine is its own category. If you have a pet with indoor accidents, tell the installer at the estimate. Underlayment, subfloor prep, and product choice can all change when that’s on the table.
Installation Day: What to Have Ready
Install day runs on a schedule, and a little preparation the night before keeps it on one. Here’s the short list we’d hand any customer in Sunrise Manor the day before install.
- Clear and empty the work zone. Every piece of furniture and every item off the floor in the room, and cleared closets that are on the scope.
- Move fragile or valuable items to another room or off the property. Wall art, glassware, and breakables that are within reach of a moving panel or tool.
- Provide clear access. A path from the front door to the work zone, with vehicles moved out of the driveway if a truck needs to unload. No boxes or bikes in the hall.
- Keep the HVAC on and set to the temperature the installer asked for.
- Park the pets elsewhere for the full day, and plan for the day after if the cure or settling window stretches.
- Be reachable by phone. Installers sometimes need a decision mid-job, and a quick yes is faster than a delay.
- Have a plan for where you’ll be while the work happens. Some jobs are easy to be home for; others are easier to step out of.
That’s the whole list. The preparation that protects the job is mostly the preparation that lets the work move without stopping to ask questions.
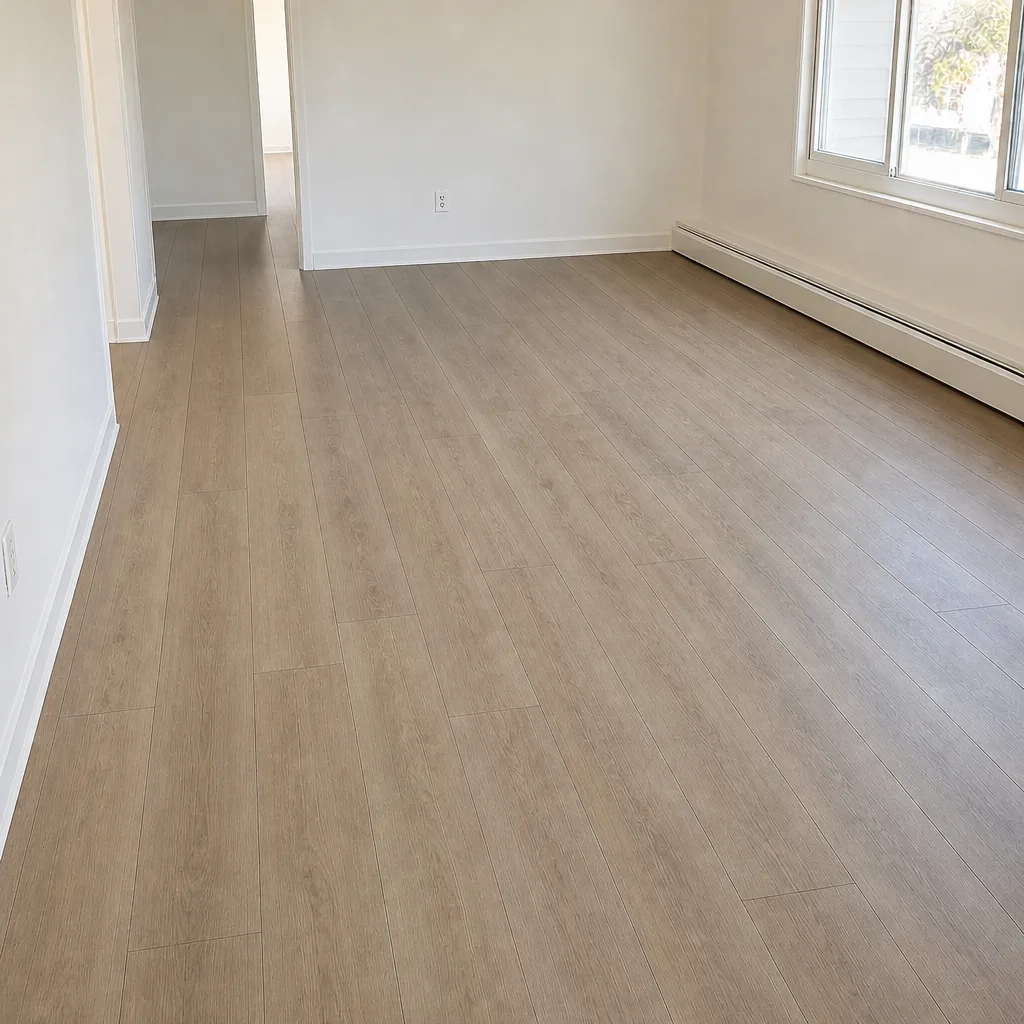
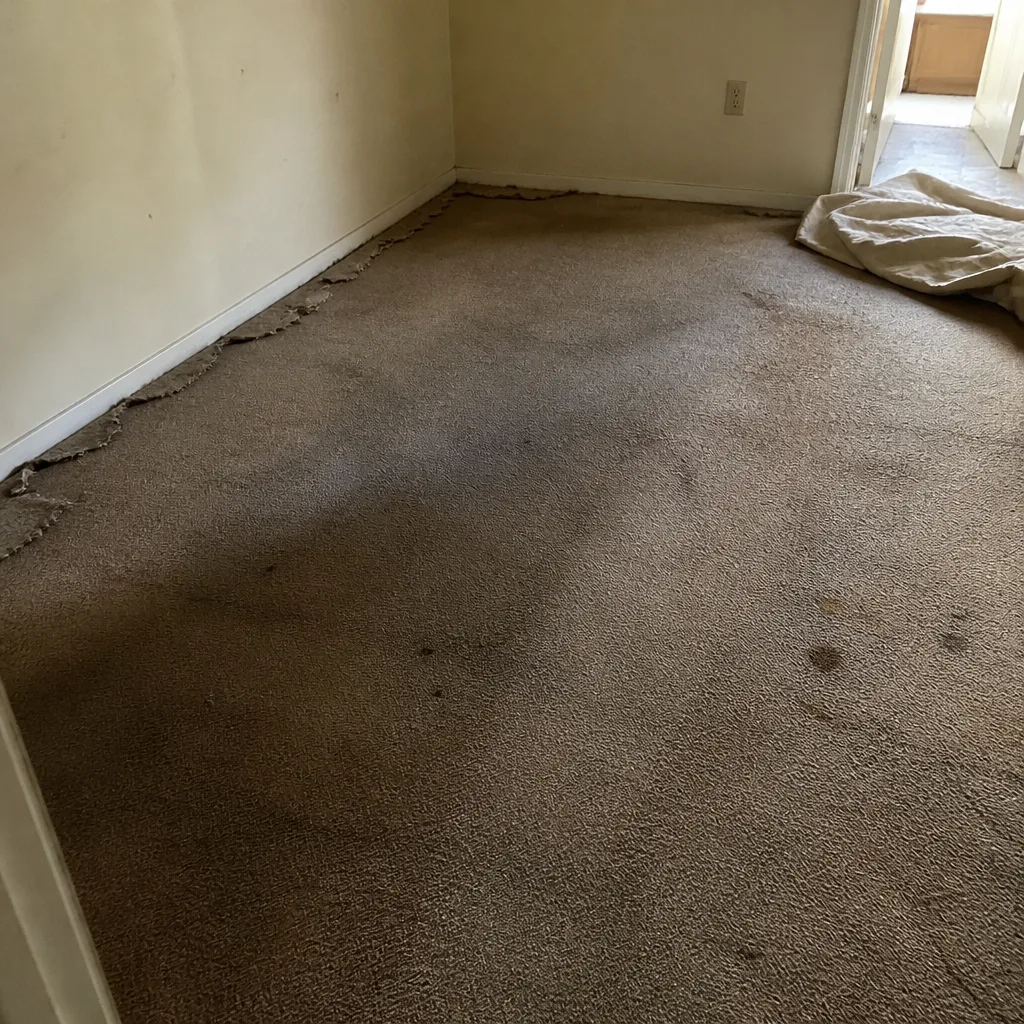
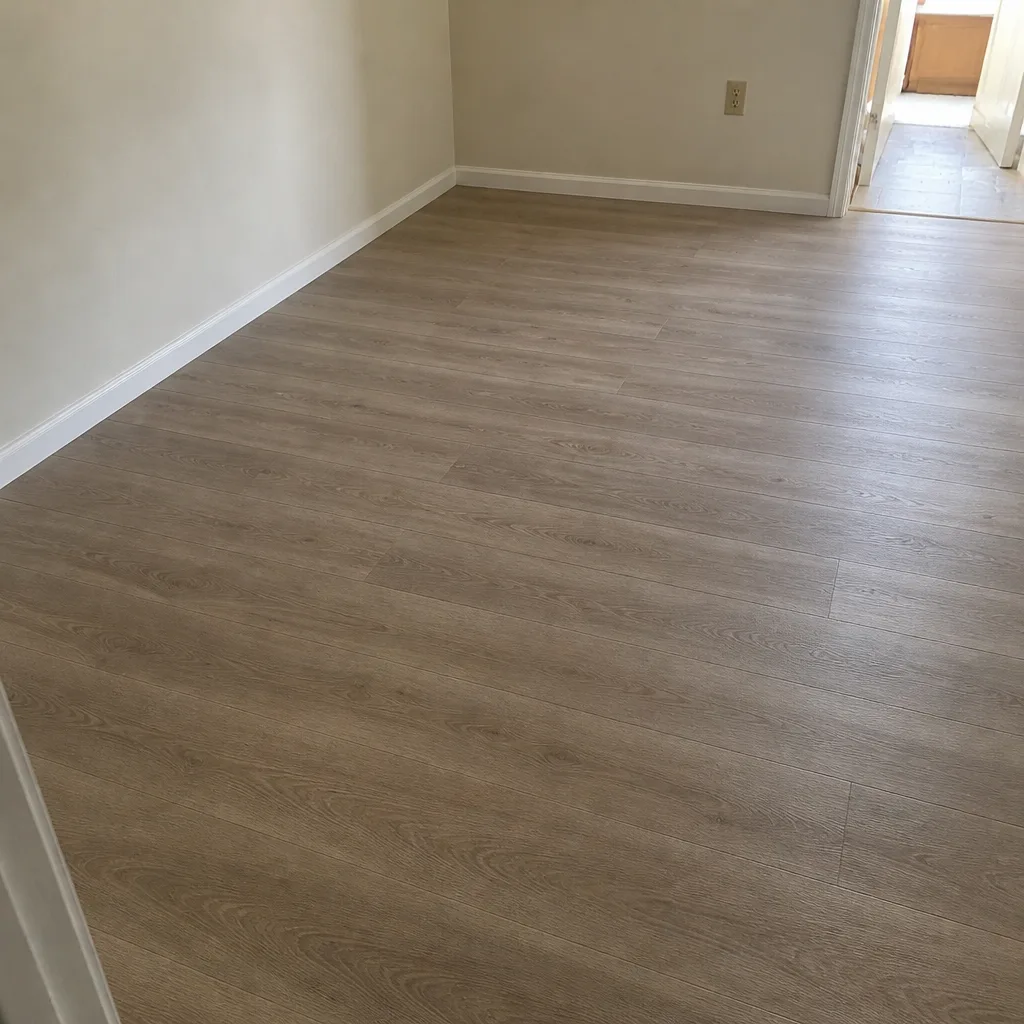
See the difference
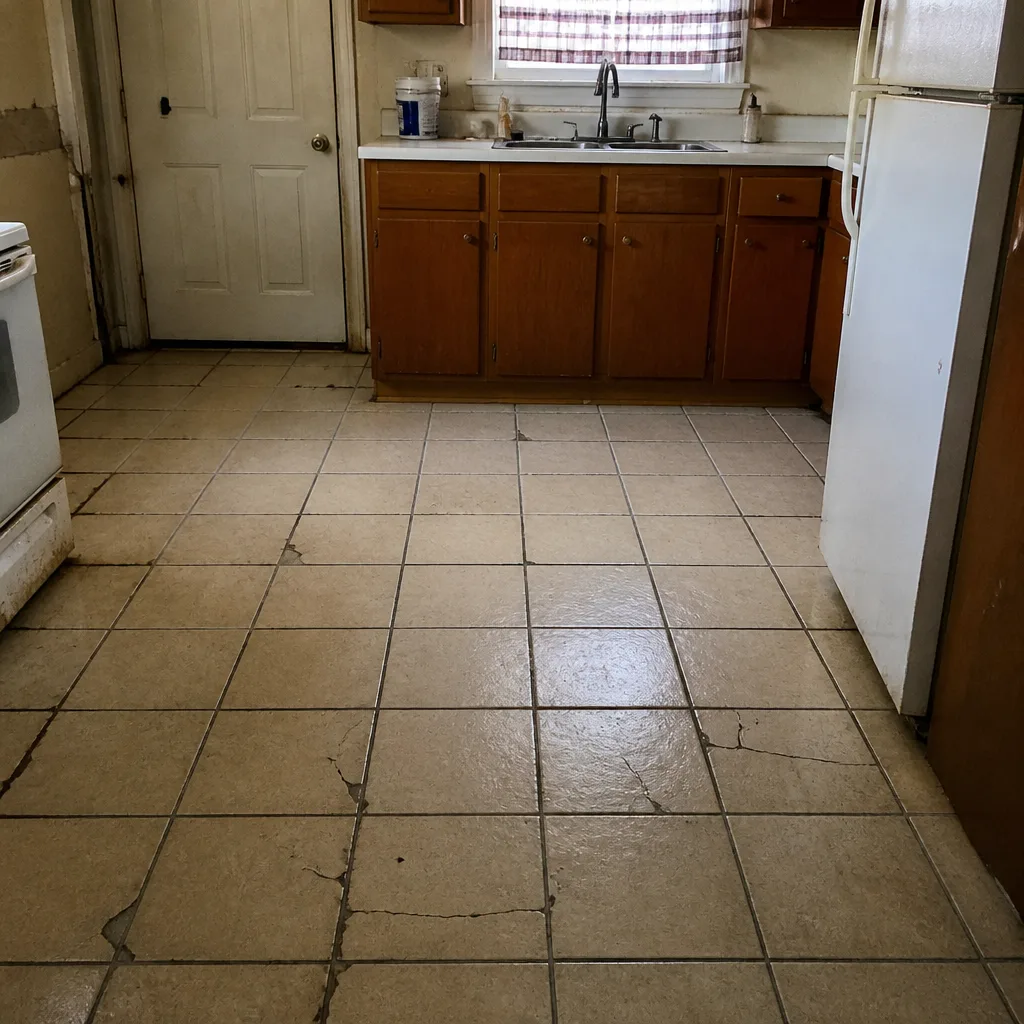 Before
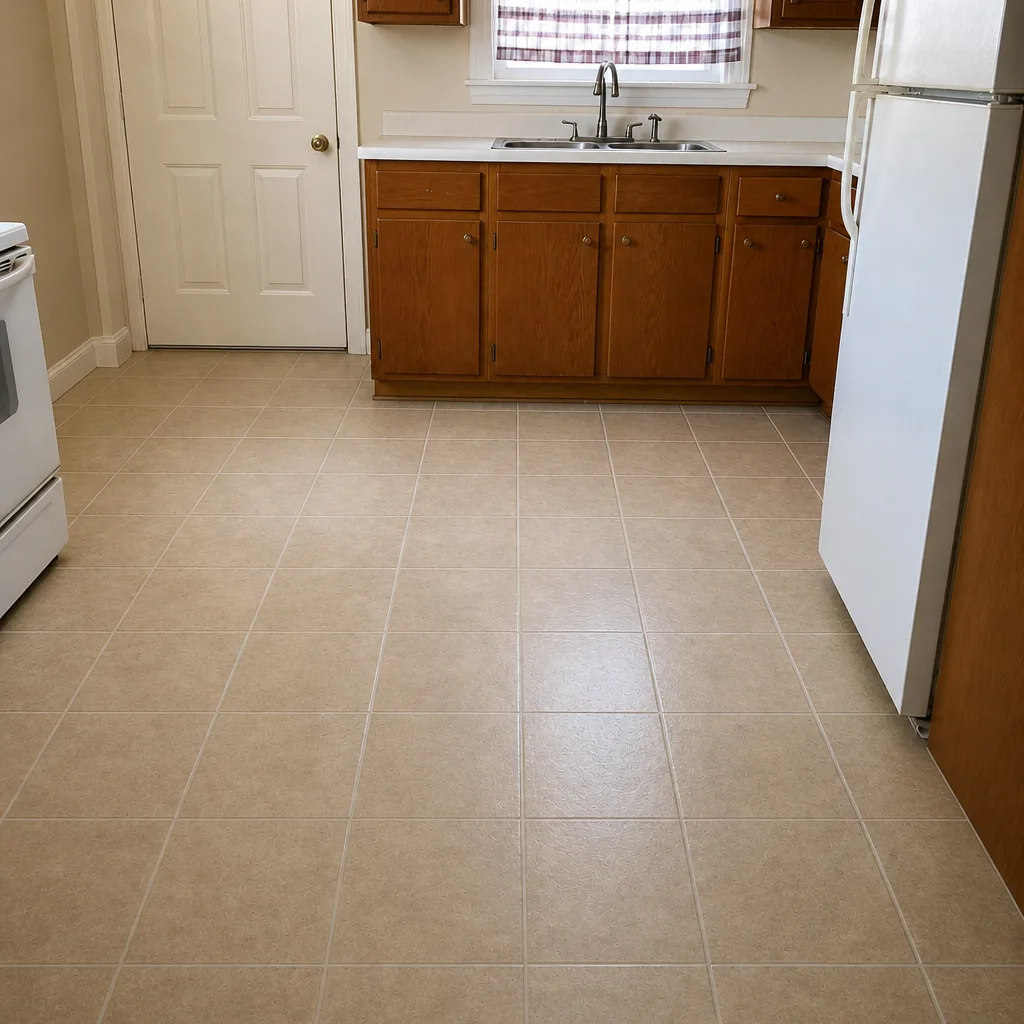 After
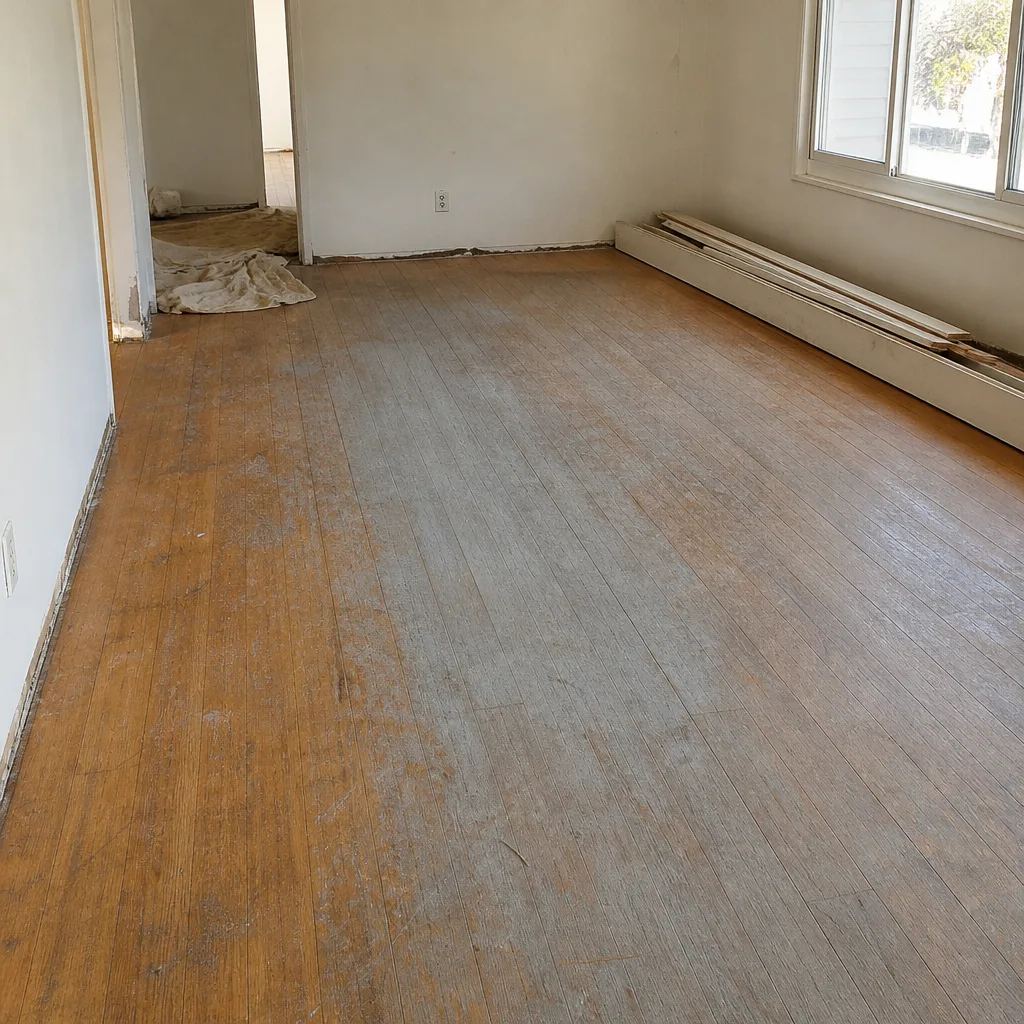 Before
 After
 Before
 After
Common Mistakes to Avoid
- Leaving sealed boxes in a hot garage to “acclimate.” A garage in Sunrise Manor is not a stable room. Material needs to sit inside the actual room it will be installed in, at the room’s conditions.
- Turning the HVAC off on install day to save on the bill. Adhesive and floating floors do better with steady conditions, and turning the system off mid-job can cost more in rework than the thermostat saved.
- Assuming the installer will move everything. What gets moved is a scope item. Ask, write it down, and plan any heavy lifting ahead of time.
- Removing baseboards to save money without checking what’s underneath. Old caulk, old nails, and old surprises are common in Sunrise Manor homes. Have a plan for what happens if the trim comes up in pieces.
- Letting pets back in the room the moment the installers leave. The floor isn’t done when the panel goes down. Wait the cure or settling window the installer tells you, not the length of the goodbye.
- Not asking about the old floor and its disposal. Where the old material goes, who hauls it off, and whether it’s part of the scope are worth nailing down at the estimate, not on install day.
- Backing out on the acclimation window to make the schedule faster. A shorter window can look tempting. If the material isn’t settled, the floor does the settling after the panel is down, which is when the seams show it.
When to Call a Professional
A lot of preparation is homeowner work: clearing the room, moving small items, keeping the HVAC steady, keeping the pets out. But some parts of the job call for a trained installer. If the existing floor has hidden damage, if the subfloor might be uneven, if you’ve got heavy built-ins or appliances that need moving, if the material needs a specific acclimation window set against the schedule, or if the job is larger than one room, that’s when the details start stacking up. It’s also where the difference between a DIY plan and a written scope matters most; the estimate visit is the point at which someone can walk the rooms and put real numbers on the work.
Flooring Installation Sunrise Manor offers free estimates in Sunrise Manor – call (855) 799-4650. We’ll walk the space, listen to what the room needs to do for the way you actually live in it, and put the preparation, material, and schedule into a written estimate before any panel comes off the truck.
Frequently Asked Questions
The window depends on the material, and the flooring brand’s instructions set it. Solid and engineered wood usually needs longer than luxury vinyl; floating floors are more forgiving than glue-down, but they still need to settle. In Sunrise Manor’s climate, arrive-at-room-temperature is the practical target, which means material needs to sit inside the room it will be installed in, not in a garage or a truck. Ask your installer to confirm the exact window for the product you chose at the estimate, and let that window drive the schedule.
For most rooms, yes; small furniture and personal items come out on your side. Heavy items like a safe, an upright piano, a built-in, or a refrigerator may be handled differently depending on the scope, so the answer is a question to ask at the estimate: “what will you move, and what do I need to move?” Write the answer down. It’s the single most reliable way to keep install day moving.
You can, and that saves the labor cost of removal and replacement. If you’d rather leave them, the installer will handle them in one of a few standard ways: cutting along the floor line, pulling and reinstalling, or running the new floor to the baseboard and finishing with shoe molding. Door casings may be undercut the same way. The method matters for the finished look, so it belongs in the written scope, not decided on the morning of the job.
Not safely, and not through the part of the job when the floor is most vulnerable. Arrange for pets to be off the property or in a closed room away from the work zone during install day, and keep them off the new floor through the cure or settling window the installer gives you. A paw in wet adhesive or a hard landing on a just-laid floating floor can create a problem that sticks around longer than the install took. If a pet has indoor accidents, mention it at the estimate so the underlayment and subfloor prep are planned for.
Yes, and in this climate it’s not optional. Keep the system running at a steady, normal living temperature starting a few days before install, through install day, and through the cure or settling window after. Adhesive cure and the way a floating floor locks depend on stable temperature and humidity. A room shut off from the system all day can leave glue tacky at the edges; a room running far hotter than the material settled into can push a seam into a gap. Ask the installer what range to hold, and hold it.
Sometimes it can go over the old floor, sometimes it can’t. It depends on the new product’s instructions, the condition of the existing floor, and what the subfloor looks like. The installer will tell you at the estimate which applies, and what to expect for removal and disposal if the old floor comes up. Leave room in your plan for a surprise underneath; it’s common in Sunrise Manor homes, and a good installer tells you immediately and gives you options before continuing.
The Bottom Line
Preparation isn’t a checklist you run before the real job starts. It’s part of the job, and it’s the part you control. Clear the room completely, including the closets on the scope. Settle the material in the room it will live in, on the timeline the brand’s instructions set. Handle baseboards and casings as a scope item, not a guess. Keep the HVAC steady before, during, and after. Keep the pets off the floor through the cure or settling window. Do those five things and the installation has a chance to be as good as the material under it. Skip them, and the floor shows it. If you’re ready to price a project, the free estimate is where this all gets concrete.
Flooring Installation Sunrise Manor handles three disciplines: carpet installation, tile flooring installation, and hardwood floor refinishing. Whether you’re refreshing one room or preparing a whole home for new floors, our team walks the space at the estimate and puts the preparation, material, and schedule into writing. We work with names like LifeProof, Mannington, Armstrong, and Daltile across the categories, so the right floor for how you actually live is on the table, not just what’s in stock. If you’re in Sunrise Manor and ready to start, call (855) 799-4650 to schedule your free estimate. We answer 24/7. Fast dispatch from 7am to 7pm, Sunday through Friday.
Written by the team at Flooring Installation Sunrise Manor.